Starting Carping Part 13 – Long Range CastingBEFORE THE CASTING bit, I’ll just ask three simple questions: Do you need to cast miles or are the fish under your feet? Are you sure what’s in-between you and the fish in the way of weed, bars and snags? And are you going to be able to control the fish properly?But then sometimes it is nice just to blast them out! Psychological Distance casting is mainly a psychological thing – you have to be 110% confident in your tackle if you are really hitting it hard. There is no point worrying about whether the rod is going to blow up, or you won’t get the best out of it. I would call anything over 120 yards or so extreme range, and all the nonsense you hear about people casting PVA bags and stringers to 150yds is, in the vast majority of cases, cobblers! One of the best things you can do is actually measure your casts, as judging distance over water is very difficult. Once you find out you are actually casting 90 yards, it makes improving so much easier! Tackle Tackle to consistently cast those sort of distances is fairly specialist stuff. Top of the casting tree (in my opinion) are the Century FMJ, Harrison Trebuchet, and the Zziplex LDC. Yes, some of the cheaper rods can cast a long way, but they won’t stand up to the constant loading of the rod over the longer term. Interestingly, if you look at the design of proper tournament casting rods, and the out and out carp distance rods, they are radically different – just look at the thickness of the blank – indeed, most tournament casters don’t reckon carp rods would last very long!
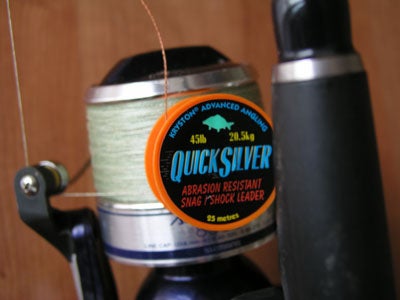
Braid is ideal where allowed; I use 20lb PowerPro to a 45lb Kryston Quicksilver leader – make sure there is at least three turns of leader on the spool when there is a 6ft drop on the lead. If I can’t use braid, then I use the ESP tapered leaders to 10lb Suffix Synergy. Another thing to try and make sure is that the leader knot is at the bottom of the spool, with none of the leader covering it (you’ll have to cut the ESP leaders back a bit) This will mean less chance of a birds nest/crack off on the cast as the line will spill of the spool easily in the vital first moments as it won’t catch the knot. Once you have reached the limits of your cast, products like Kryston’s ‘Greased Lightning’ will lubricate the line, adding a few yards to your cast – but make sure you’re extracting everything out of your tackle and technique first! A finger stall is my final recommendation – if your finger doesn’t hurt without one, you aren’t compressing the rod enough! Also a great way of stopping braided line removing your finger……
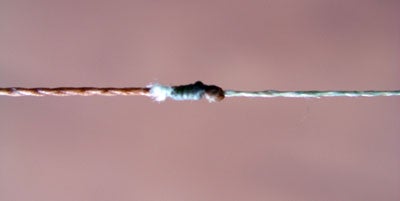
For the shock leader knot I like this one, though when using braid I prefer to use 8 turns. Rigwise the Helicopter Rig is ideal – anti tangle, and you can adjust the stops so that the hookbait doesn’t touch the ground. I’m going to show you how I cast, without going into mega detail – if you really want to learn, take a lesson. £ 50 spent on one is a far, far better spend than £ 300 on a rod! First up is the classic ‘Overhead Thump’ The local lake isn’t the place to practice, unless it is 300yds wide and no one fishing the other side – a cracked off 4oz lead can go an awful long way and could easily kill someone if it hits them – be absolutely sure it’s safe to practice before you do.
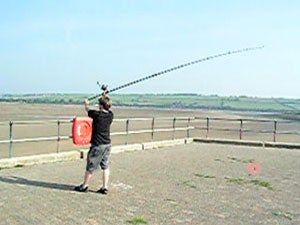
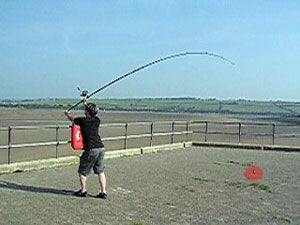
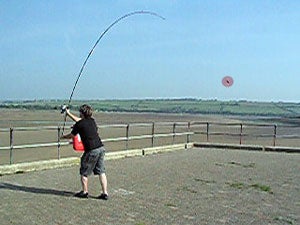
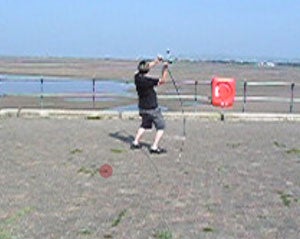
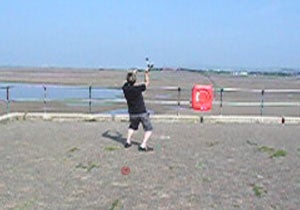
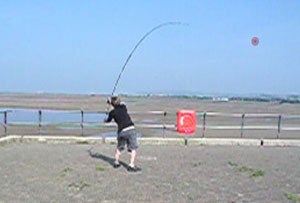
For the record, I’m using a 12ft Century FMJ with a Shimano Aerlex XS8000 Reel, with 20lb PowerPro mainline to a 45lb Kryston Quicksilver leader and a 3.5oz Zipp lead. First thing you have to do is to make sure you have good feet positioning. A lot of people stand facing the spot, feet parallel to each other. This is fine for medium ranges, but you need a position that will give you more stability if you really want to give it the big one. One foot should be in front of the other, and at roughly 45 degrees – like the point of an arrow, the rod will be the shaft of the arrow if that makes sense. The top hand is above the shoulder or head, the bottom hand at roughly chin level (or nose if you’re Jimmy Hill!). Push with the top hand, pull with the bottom and the cast is made. Note on the pics where the lead is, and how much compression there is on the rod before the lead moves appreciably. The cast I made in the clip went approximately 120yds, judging by the amount of braid what was left on the reel (I use 150yd spools of PowerPro). There are a few problems with this method, firstly because of where your hands are, you can’t actually move the rod in much of an arc, so you limit the amount you can compress the rod. Secondly, most people look at the spot they are casting to, which will normally make you cast flatter. Probably most importantly, you are wasting a lot of your body strength as you are only using your arms. You can rock backwards before casting, which will give you more compression, but you have to get the timing right like Big Rik getting it right. An easier method for adding yards is the ‘Off the Ground’ technique Take the same stance as described above, with a drop of roughly half the rod’s length. The tip of the rod should be on the ground, with the lead between you and the rod tip, ie half way along the shaft of the arrow, making sure the line is tight. The rod is held away from the body – the arm that holds the rod butt should be straight, with only a slight bend in the arm that holds the reel. This will mean your body is slightly twisted.
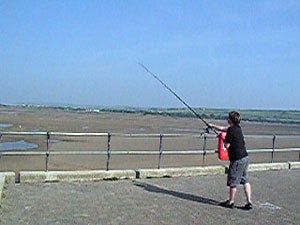
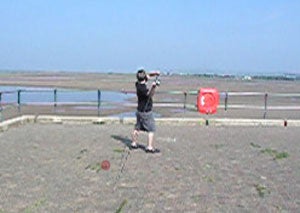
Before you start the cast, imagine you are casting into a big hole in the sky at 45 degrees, and shift your weight to the back foot. The important thing is to not rush the cast – a slow build up of power is what we are after. The first few times you do it, just ‘untwist’ your body, and bring the rod around without trying to cast hard, remembering to look up at 45 degrees rather than at the water. It’s surprising how far the lead goes! As you get comfortable with the movement, you can start pulling the bottom hand in – this will generate more compression and greater tip speed, but you need to build it up slowly as the common mistake is to try too hard – the best casts I’ve done with this method felt quite gentle, rather than the gut-busting grunts you hear from some people! Again, look at the pics and note where the lead is – two thirds of the way through the cast and the lead has barely moved, which means the rod is being compressed. The cast in the clip took all the braid off, and about 15yds of the 25lb backing mono I’ve got on, adding nearly 40yds to the cast with not really any more effort than the overhead thump. If you look at a pendulum cast, the OTG method is basically the second part of the pendulum, without the need for lots of room and getting the timing absolutely spot on – its also more bait/rig friendly. Hope you’ve got some pointers from this, I can’t stress enough the safety aspects of distance casting, and that the best way is to get a lesson or two and practice, practice, practice! |
Welcome!Log into your account


