Following this thread through it is apparent the "stick float" that Mark describes (The same ones I used on the Trent many years ago) has now evolved and the term refers to any balsa bodied float attached to a variety of stem materials. The float is now far more versatile and that can only be a good thing. By coincidence, I have recently been making what I call 7 No 4 stick floats. The floats I have made are not things of beauty, but are functional, easy to make and work well.
The method I use is simple and the only tools required are: a power drill (I use an old Black and Decker over 50 years old)
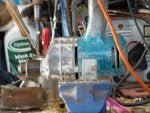
A 2mm drill, 8mm brad point wood drill and various grades of sandpaper. A pin vice is also handy, but not essential. Materials are: 8mm balsa wood dowel and 2mm carbon fibre float stems, both of which are widely available on line. I have an metal jig I made to drill the balsa body's out 2mm, but I couldn't find it, more input for the senior moment thread. I made one from a bit of scrap timber 25mm x 55mm. Drill right through with a 2mm bit, then follow that with an 8mm brad point drill, counter boring to a depth of 15mm. The one I did was pretty much spot on, but it doesn't have to be absolutely concentric, with an 8mm body diameter you have a bit of latitude.
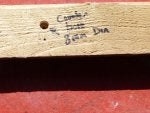
Next thing is to then drill the balsa body . I use a pin vice and drill the body to a depth of 15mm, but you can use a power drill,
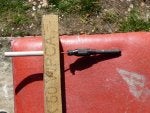
Once you have done that, glue a 10cm carbon fibre stem into the body , I use araldite. The stems usually come in 20 cm lengths. When the glue has gone off the body will need to be sanded down to your preferred shape. I use this set up to do that.
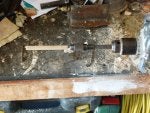
I insert the stem into the pin vice then put the vice into the chuck. This stops the stem from whipping as the drill rotates. Shape the body by hand, using ever finer grades of sand paper and finish by using a strip of plain paper, to produce a polished finish with no furry bits. Once you have the shape and finish you want, seal the body with two coats of cellulose dope. When dry, apply a coat of white undercoat, then the top coats. I use black and fluorescent red. Finish off with a couple of coats of varnish. The finished article will look something like this:
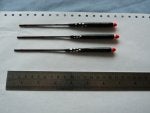
Nothing to drool over, but eminently usable. Pete


